- Install PostgreSQL if you don't have it already. If you have a Cloud PostgreSQL instance like Amazon RDS, skip.
- Install Google Chrome if you don't have it installed. (Any browser can be used but for uniformity of these instructions, we have stuck with Chrome)
- Install the websocket Chrome extension
- Download the latest version of the app for your operating system and computer architecture. Note: the commonest architecture is AMD64. That's the one you most probably have
| Operating System | Architecture | Download |
|---|---|---|
| Windows | AMD64 | Download |
| Windows | ARM | Download |
| MacOS | AMD64 | Download |
| MacOS | ARM64 | Download |
| Linux | AMD64 | Download |
| Linux | ARM64 | Download |
If you are interested in older versions, go to the download section
- Open your terminal (command line). (For Ubuntu hit ctrl-alt-T)
- Enter the directory where downloaded the app.
- Run the application.
For Linux/MacOS ( Replace the things that have <> with your own values ):
./rnpcli run \
    --dbhost <PostgresSQL database host> \
    --dbport <PostgresSQL database port> \
    --dbname <PostgresSQL database name> \
    --dbuser <PostgresSQL database user> \
    --serverport <The computer port to expose the app to subscriber apps>
    --serverinterval <The Interval for messages to be sent to subscriber apps e.g. 100ms>
    --daysinpast <The number of days in the past first date for the data should go up to>
    --daysinfuture <The number of days in the future last date for the data should go up to>
For Windows ( Replace the things that have <> with your own values ):
rnpcli.exe run \
    --dbhost <PostgresSQL database host> \
    --dbport <PostgresSQL database port> \
    --dbname <PostgresSQL database name> \
    --dbuser <PostgresSQL database user> \
    --serverport <The computer port to expose the app to subscriber apps>
    --serverinterval <The Interval for messages to be sent to subscriber apps e.g. 100ms>
    --daysinpast <The number of days in the past first date for the data should go up to>
    --daysinfuture <The number of days in the future last date for the data should go up to>
Each of those flags have short forms. You can see these short forms from the help menu e.g. instead of --dbhost, one could use -H
- Open websocket chrome extension in Google Chrome.
- Add the URL
ws://<IP address>:<computer port RnpCLI is running on>?subscriberId=<a subscriber id of your choice>e.g.ws://localhost:8080?subscriberId=testSubscriberto the Server URL input of the websocket chrome extension.

- Click the Connect button of the websocket chrome extension

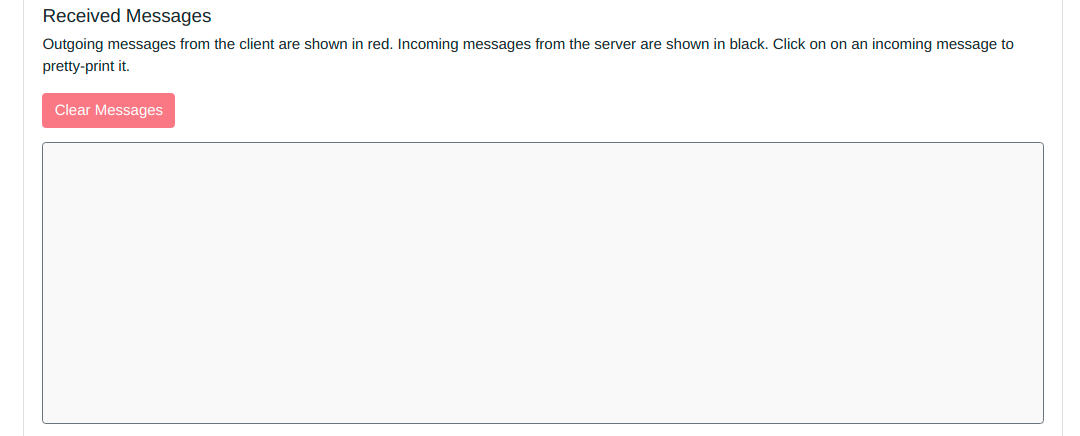
- Watch as the messages are displayed in the messages output section of the websocket chrome extension

- Inorder to limit the message types received, you can modify the websocket URL used to
ws://<IP address>:<computer port RnpCLI is running on>?subscriberId=<a subscriber id of your choice>&messages=<comma separated list of message types>e.g.ws://localhost:8080?subscriberId=testSubscriber&messages=ifa_nominations,ifa2_nominations,brit_ned_nominations,nemo_link_nominations - To stop the application, hit Ctrl-C in the terminal (commandline) RnpCLI is running from
- To view the help menu instead of running the app, you can run the help command
For Linux/MacOS:
./rnpcli run --help
For Windows:
rnpcli.exe run --help
- When your trial period ends, your application will be unable to run but instead will ask you to pay for a license. Please follow the prompts and apy for that license. Your payment is vital to allow SopherApps team to continue improving the RnpCLI app.
Gotchas
- Do note that this CLI can't be safely run in say systemd because it requires terminal interruction
- Run it in a screen
screen -S rnpcli
rnpcli run # etc...
- Then detach them with
Ctrl-A-D
